Laser Engraver Y-axis Moves to Which Direction?
Share
This blog will solve the popular search query of "laser engraver y-axis moves to which direction", which seems to bother many DIY enthusiasts. To get into the final answer, we will first learn the basics of this topic.
Axes of a Laser Engraver
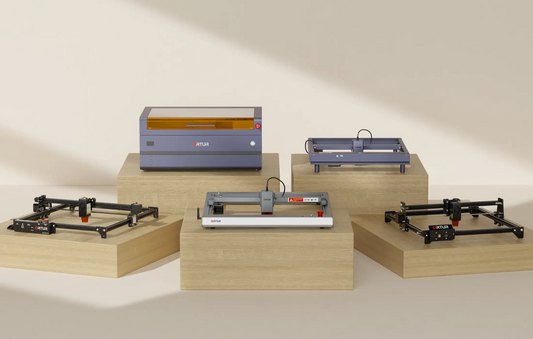
Laser engravers use laser beams to cut or engrave designs onto different materials. These machines work with two main axes for movement: the X-axis and the Y-axis. There is also a Z-axis, but its role is to adjust the focus of the laser, not move the laser head.
- X-axis: This controls horizontal movement, meaning the laser head moves from left to right.
- Y-axis: This controls vertical movement, meaning the laser head moves up and down (or vice versa, depending on the machine setup).
- Z-axis: This is used to adjust the focus of the laser, not for regular movement.
Y-Axis Movement
Now, when it comes to the Y-axis specifically, the direction it moves in can vary depending on your machine's settings and how it’s arranged.
- Positive Y-axis direction: Typically, the laser head moves away from the operator, towards the back of the machine.
- Negative Y-axis direction: The laser head moves towards the operator, or front of the machine.
However, depending on the laser engraver’s design and the software settings you're using, the direction of the Y-axis could be different for your specific machine.
Using the Y-Axis in Laser Engraving
The Y-axis is one of the key parts of a laser engraver that helps guide the laser head to create designs. Just like the X-axis, the Y-axis can be controlled in different ways using software like LightBurn or AI. The settings for the Y-axis, such as speed, power, and accuracy, depend on the material being used and how complex the design is.
Here’s a breakdown to explain how these settings affect the Y-axis movement:
1. Speed:
- If you need high detail in your engraving, it’s better to use slower speed on the Y-axis.
- If you want to finish the engraving quickly and don’t need fine details, you can use faster speed.
2. Power:
- This setting controls how far the laser moves when engraving.
- Higher power on both the X and Y axes can cause the laser to fuse or burn softer materials, which might be useful depending on what you’re engraving.
3. Acceleration:
- Some advanced laser cutters allow you to adjust how quickly the Y-axis accelerates.
- By controlling the acceleration, you can reduce sudden movements (or shocks), which helps to create smooth curves and fine details in your design.
For more complicated designs, especially when you need to cut at different depths or levels (like in multilevel cutting), controlling the Y-axis is critical. Proper control ensures that the laser moves smoothly along the Y-axis to create the correct depth and detail in your final engraving.
Setting Up a Laser Engraver for Accurate Y-Axis Movement
Laser engravers usually start from a “home” position, which is typically located at the lower-left corner of the machine. This starting point is important because it helps the machine know where to begin engraving.
- The Y-axis home position is where the laser module is located at the start of the engraving process. This determines how far the laser head will travel vertically during engraving.
When setting up your engraving, it’s important to make sure the design is correctly oriented in the software. If you don’t set this up properly, the laser might engrave your design upside down.
Common Issues and Fixes:
- If your design is mirrored along the Y-axis (flipped), it might be because of incorrect settings in the software. Be sure to check and adjust the orientation of your design in the software to match the home position.
- Y-axis stop: Always check that the Y-axis stop is correctly set. If it's not, the laser head might move too far or not far enough during engraving, which can mess up your design.
Conclusion
To wrap up our discussion on the question, “Which direction does the Y-axis move in a laser engraver?” we can say that using the right design software is key to solving any orientation issues and making the laser cutting process smoother, especially for DIY projects.
That’s why we recommend Inspiraesth—a complete laser cutting software that works with the Ortur LM3 laser cutter. This software is great for both beginners and professionals, offering easy-to-use modes for every engraving step. It’s designed to help you configure the axes correctly, so you don’t run into problems with your designs.
The Ortur LM3 hardware is also super precise, with 0.01mm accuracy, a next-generation motherboard, and speeds of up to 20,000mm/min—so you can finish your DIY projects quickly and accurately.