Laser Engraving Leather with Ortur: A Simple Guide
Share
Laser engraving is a modern and precise way to add designs to leather. It works by using a focused beam of light to burn the surface of the leather. This process creates clean, detailed, and permanent patterns. You can adjust the depth, color, and texture by changing the laser’s power and speed.
One big advantage of laser engraving is accuracy. It can recreate complex designs, text, and images with great detail—much better than manual tools. Since the laser doesn’t touch the leather, there’s less wear and tear, and it’s perfect for making many items with the same design.
Why Use Laser Engraving on Leather?
Laser engraving is ideal for small businesses, DIY projects, or custom gifts. Whether you’re making a personalized wallet, keychain, or name tag, a laser engraver helps you get professional results at home.
What You Need to Get Started
To engrave leather with a laser, you’ll need three main things:
1. A Laser Design File
This is a digital file that tells the laser where and how to engrave. You can create one yourself using design software, or download free templates online.
2. Design Software
Programs like Adobe Illustrator, or laser-specific software like LightBurn, let you create and adjust your designs before engraving.
3. A Laser Engraving Machine
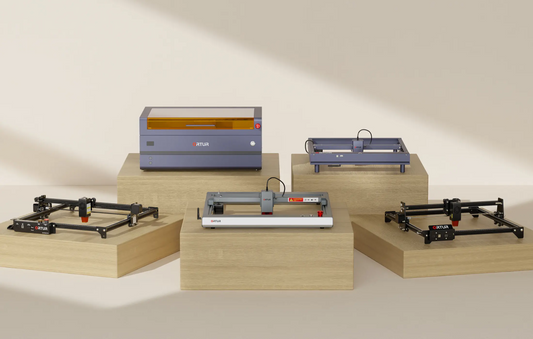
This is the main tool that does the engraving. Ortur’s diode laser machines, such as the Ortur Laser Master 2 Pro S2, are a great choice for leather work. They’re powerful, reliable, and easy to use at home or in a workshop.
How to Laser Engrave Leather with an Ortur Machine
Here's a simple step-by-step guide to engraving leather using an Ortur laser machine:
1. Create or Choose a Design
Use your design software to create a new design or adjust an existing one. Once done, load it into the laser software.
2. Set Up the Machine
Place the leather in the laser machine. Use the software’s focus feature to align the laser correctly. Position the design over the leather using the preview window.
3. Adjust the Settings
Ortur’s software often comes with preset settings for different materials. Choose “leather” or set your own parameters for speed and power.
4. Start Engraving
Begin the engraving process and let the machine do the work.
5. Clean Up
After engraving, you may see some soot or residue. A good trick is to use painter’s tape—press it onto the engraved area and peel it off to remove the dust. Repeat as needed for a clean finish.